Tutorial on how to use our app together with Mash Valve
Read About it!
In addition to controlling the Mash Valve, creating and storing recipes, the app also has a tool to assist the Brewer.
- Color conversion (SRM, EBC e °L)
- Calculation from Refractometer information (OG Brix, Density, FG Brix, Final Density, ABV%)
- Bitterness calculation (SG, IBU)
- Pan volume calculation from external dimensions.
- Temperature Conversion (° C and ° F)
- Mass, volume and length conversion calculations (Kg, Lb, g, Oz, L, gal, US floz, mL, cm, inch).
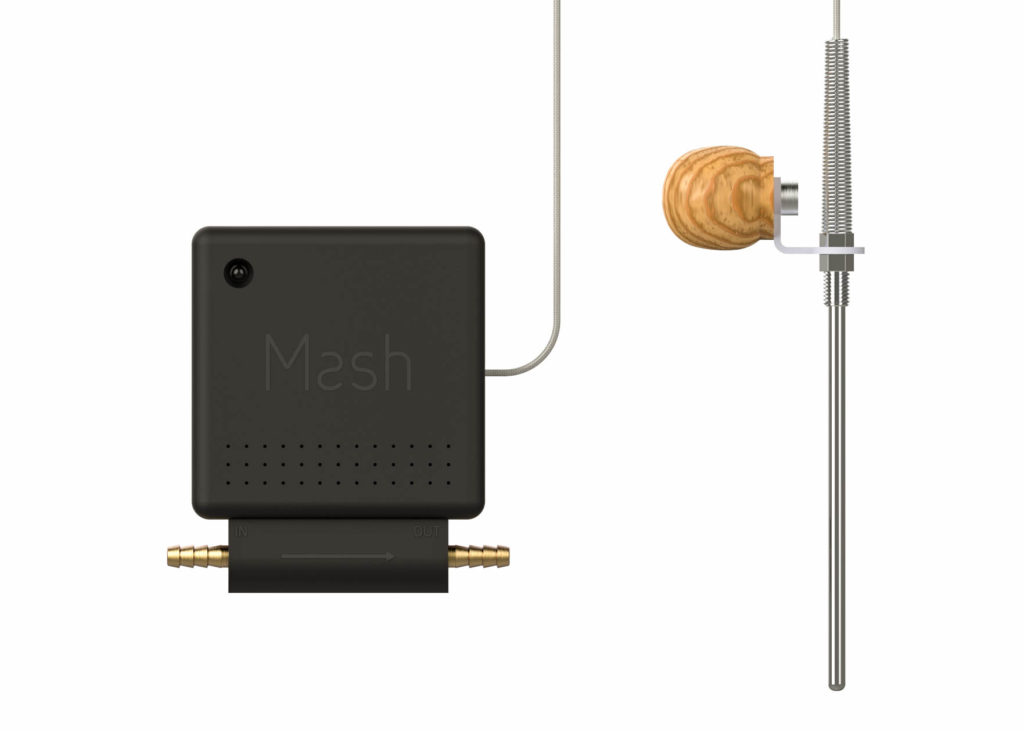
- Verify that the Thermo Controller Valve is connected to the power source and the LED is in “flashing blue” mode. Before entering the Smart Mash App, make sure your device’s Bluetooth is turned on.
- Enter the App and go to “Device” in the main menu. Click “Scan” and wait for the application to find “Mash-xxxx” and select the device you want to control.
- Click on “Connect.”
If the application cannot find the device, restart your Smartphone and Valve, then perform the same procedure again.
Click on “Recipes”, select any of the preprogrammed recipes and click on “Upload” OR create a new recipe by clicking the “+” button.
- If you decide to create a new recipe, you will need three pieces of information in this first step: Recipe Name, Style and Boiling Time.
- Other information you may decide to complete or not, when you’re done, click “Save.”
- In the second step you should add the Ramps and the Hops by clicking on “Ramps and Hops”. At the end click on “Load” and go to “Brassagem” or “Boil” in the main menu.
All Hop Ramps and additions must follow an order. For Ramps, the order is from lowest temperature to highest temperature. For hops (spices) from longest to shortest.
Once your recipe is loaded, go to Brassagem in the main menu and give Start.
- First step is the Low Fire setting: Turn on the Gas source (if you haven’t already turned it on), after that, holding a LIGHTER or MATCH in one hand, slowly slide the app bar and light the stove. After the stove is lit, set the Low Fire as low as possible.
- Click on “Next” and now set the High Fire so that there is no flame loss around the pan. Wait for the application to warn you about “Adding Malt”, add the malt, mix well and click “Next.”
- Wait until the whole process is completed.
If you do not have a shaker, you MUST shake the Wort regularly to maintain homogeneity. If using a recirculation pump, agitation is required at a time when there is a temperature rise between one level and another.
Once your recipe is loaded, go to “Boil” in the main menu and press “Start.”
- The first step is flame regulation. Unlike the Brassing process, there is no need for Low Fire and High Fire regulation.
- Turn on the Gas source (if you haven’t already turned it on), after that, holding a LIGHTER or MATCH in one hand, slowly slide the app bar and light the stove.
- After the stove is lit, adjust the flame so that there is no loss of flame around the cauldron.
- When the temperature reaches the value set in BOILING TEMPERATURE (see Settings below), the application will send you a notification to check if boiling is occurring. If not, wait until it happens and then click “Next.”
- Add hops or spices as the application communicates.
If the user is in the middle of the Boiling OR Brazing process, clicking on the “i” icon in the upper right corner of the screen will give you access to the following information:
- Current ramp and total amount of process ramps (in the boil process the information will give the amount of hops & spices added and remaining)
- Current temperature and desired temperature.
- Total step time, Step / Process time remaining.
- Low Fire and High Fire Intensity.
- Current power of the flame.
- Temperature change rate.
- Bluetooth signal status.
In the Settings menu, you will have control over all features of the Thermo Controller Valve.
- Boiling Temperature: This is used in the Boil step to warn the user when the process is nearing the beginning. Recommended 98 ° C.
- Temperature Alert Limit: Used to send warnings if the error is greater than 1 ° C.
- Saccharification Alert: can be implemented if the user wants to make the Saccharification of must.
- Adjustment Warnings: Enables the application adjustment beeps.
- Always Active Application: We advise you to keep ON if you want to have a Chart of the whole process.
- Sensor Calibration: Can be used to make the process more accurate.
- Target Temperature Tolerance: Used to start time counting in temperature maintenance steps.
- Target Temperature Stabilizer: Used to make the process faster or slower. The larger the difference, the slower the process becomes, but in contrast, the more accurate.
- Integral Gain: Used to improve results in temperature maintenance steps.
- Gas Sensor Sensitivity: should be used with caution. Indoors the sensitivity may be lower and in the open it is recommended to increase the sensitivity.
Download it right now at your app store completely Free

Worldwide Delivery
Buy now and automate your gas equipment.


